For organizations already invested in Microsoft technologies, hosting WordPress on Windows Server 2022 with IIS is a natural choice. Leveraging Windows Server 2022 with IIS for your WordPress site allows you to create a secure, scalable, and high-performing environment tailored to your business needs. This step-by-step guide will show you how to seamlessly integrate WordPress with Microsoft’s powerful server infrastructure, ensuring a smooth and efficient setup process that maximizes the strengths of both platforms.
Objective:
By following this guide, you’ll have a fully functional WordPress site on your windows server 2022. Whether you’re an experienced IT professional or a beginner, this guide will help you get your WordPress site set up and running smoothly.
Prerequisites:
- A Windows Server 2022 machine with administrative access.
- MySQL Installer
- PhP (Non Thread Safe version)
- Microsoft Visual C++ redistributable
- WordPress
Step-by-Step Solution:
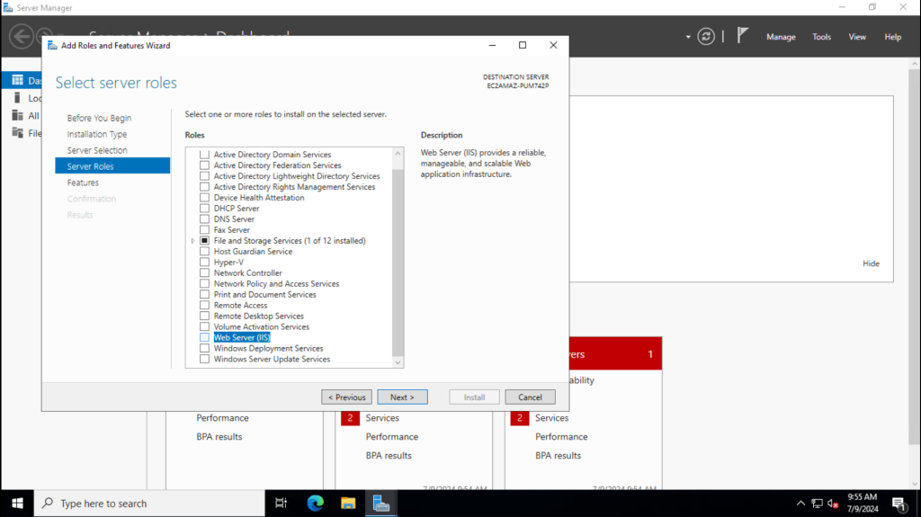
Step 1: Installing IIS and required tools.
- Open Server Manager and select Manage > Add Roles and Features.

- In the Add Roles and Features Wizard, select Role-based or feature-based installation and click Next.
- In the Roles section, select Web Server (IIS) and click Next.
- In the Role Services section, ensure the following services are selected:

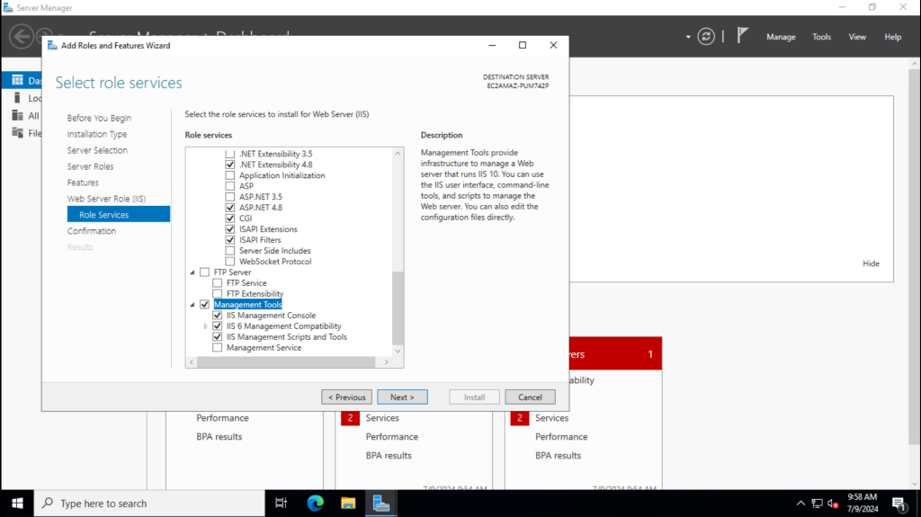
- Click Next, then Install.
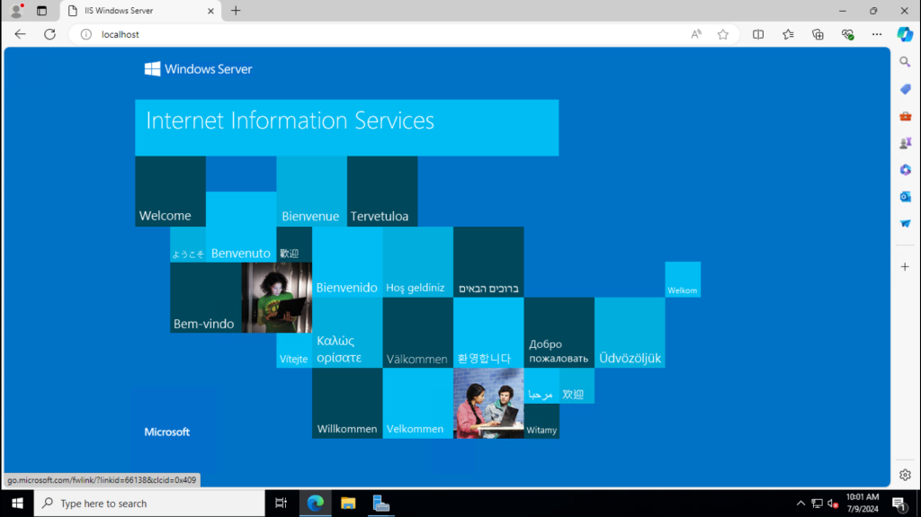
- Verify the Installation by visiting localhost, you will see the following default page of IIS.
Step 2: Install Microsoft Visual C++ Redistributable Version
- Download the latest version of Microsoft Visual C++ from here.
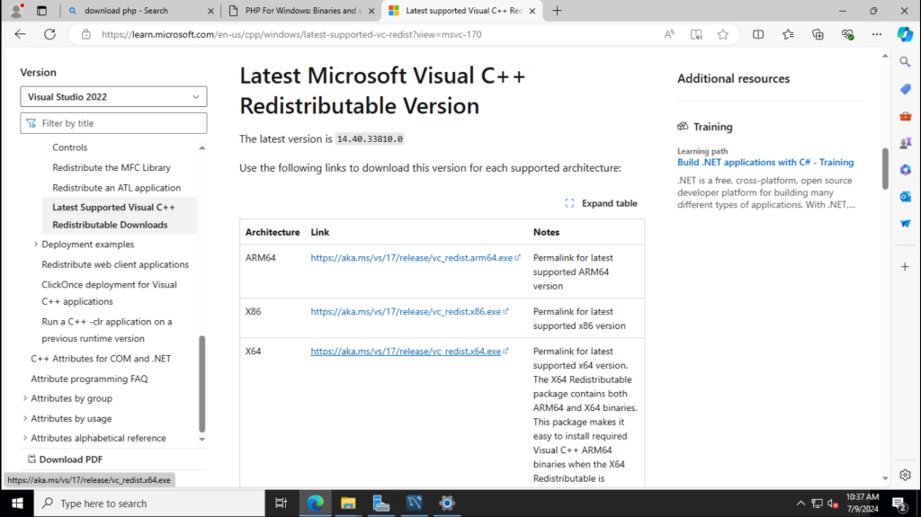
- Applications that are built using Microsoft C and C++ tools require Visual C++.
- For WordPress, it is required by various dependencies, including PHP extensions, database servers, and web server components to function properly.
Step 3: Install PHP
- Download the latest Non-Thread Safe PHP version from here.
- Extract the downloaded ZIP file to C:\php
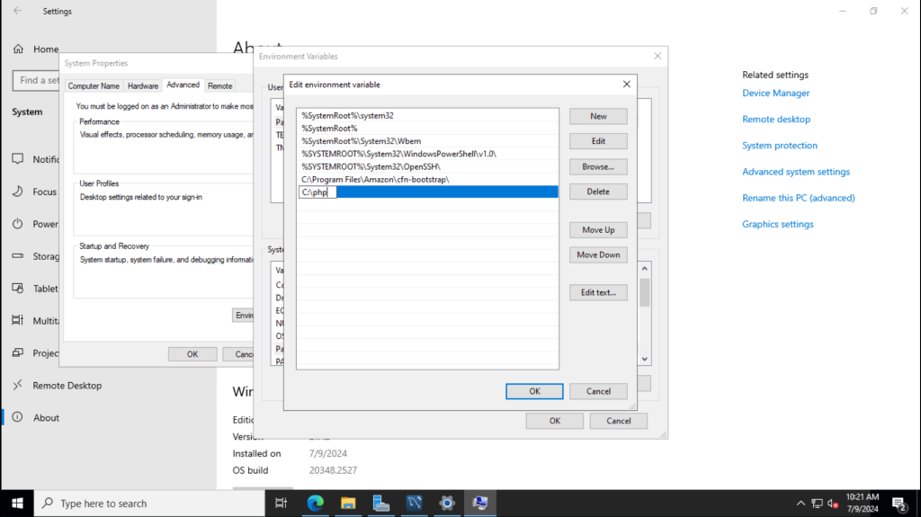
- Add C:\PHP to the system’s PATH environment variable.
- Right-click This PC > Properties > Advanced system settings.
- Click Environment Variables, then find the path variable in the system variables section and click Edit.
- Click New and add C:\php.
- Rename the php.ini-production file name to php.ini
Step 4: Configure PHP for WordPress
- Open C:\php\php.ini file in a text editor.
- Uncomment and change the following values:
cgi.force_redirect = 0
cgi.fix_pathinfo = 1
fastcgi.impersonate = 1
fastcgi.logging = 0
extension=mysqli
extension=pdo_mysql
Step 5: Configure IIS for PHP
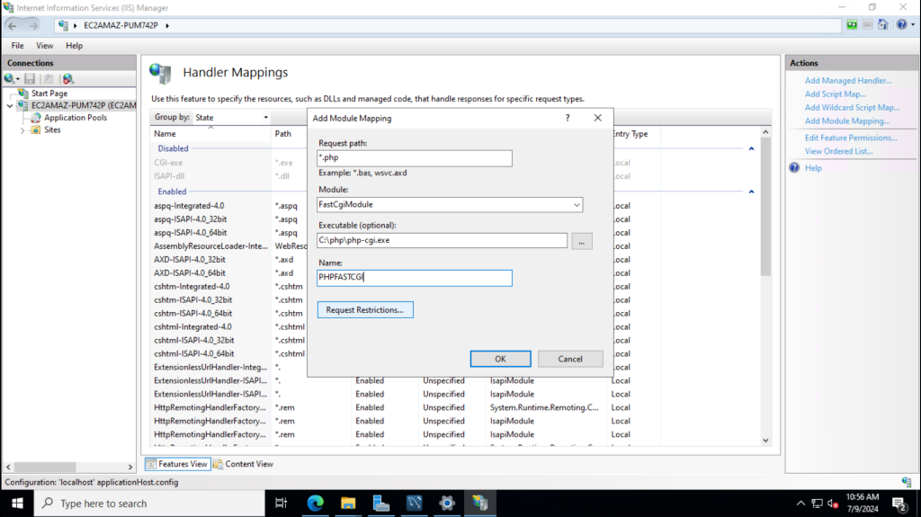
A) Handler Mapping:
- Open IIS Manager.
- Select your server in the left panel.
- Double-click Handler Mappings.
- Click Add Module Mapping in the Actions pane.
- Set the Request Path to *.php, Module to FastCgiModule, Executable to C:\php\php-cgi.exe, and any Name to it.
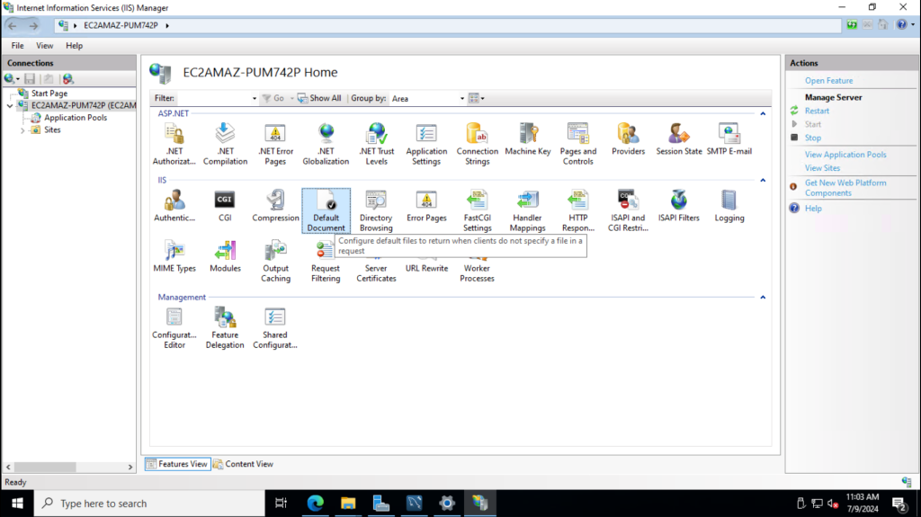
B) Default Document:
- Click on the Default Documents option.
- Add default.php and index.php
Step 6: Create and configure the IIS Application Pool
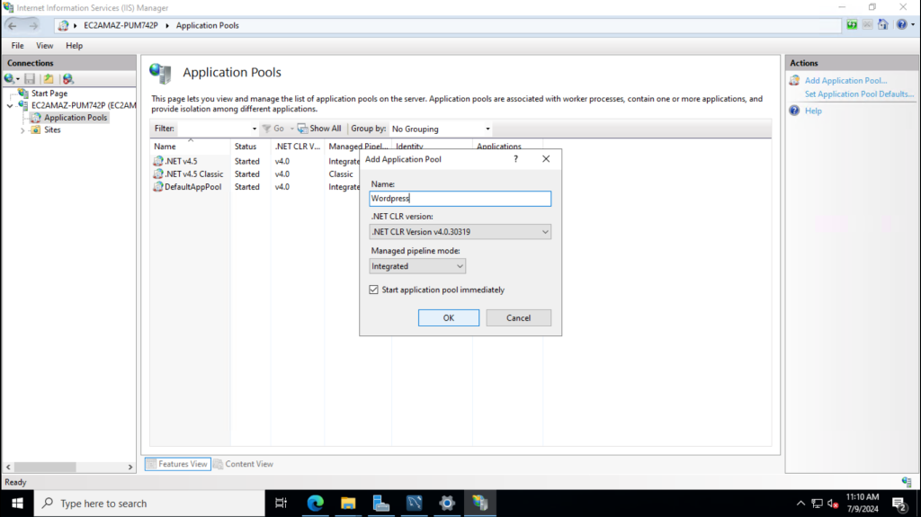
A) Creating a new Application Pool
- Right-click on the “Application Pools”
- Click on the “Add Application Pool” window.
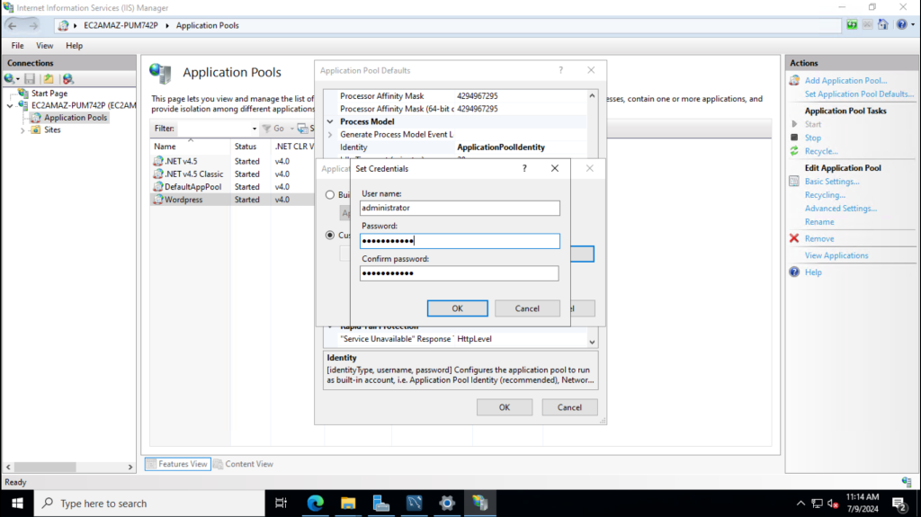
B) Configure the Application Pool
- In the “Application Pools” list, find the newly created application pool WordPress.
- Right-click on it and select “Set Application Pool Defaults”
- Click on the ApplicationPoolIdentity > Custom Account > Set credentials > Provide the Username and Password of the Administrator.
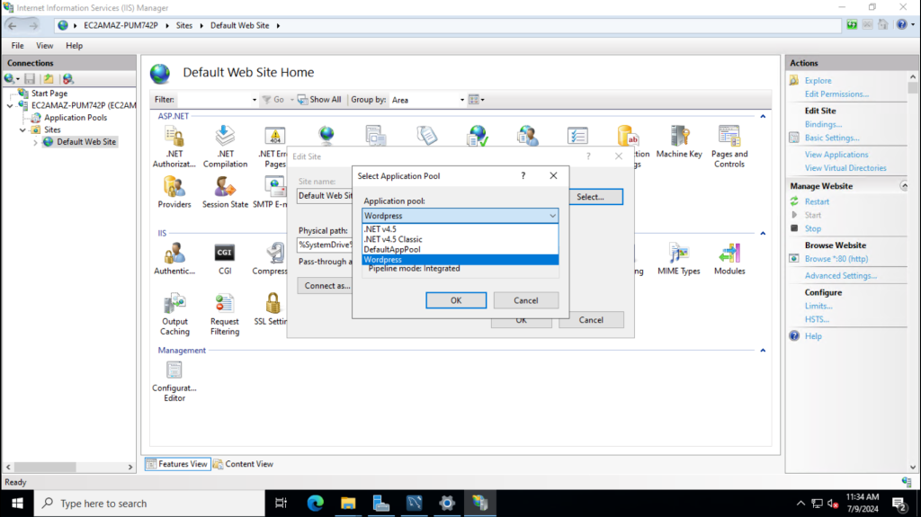
C) Change Application Pool for Default Web Site
- Click on Default Web Site.
- Right-click on the Basic Setting under Edit Site at the extreme right.
- Select the Application Pool that we created earlier i.e. WordPress.
Step 7: Install MySQL
- Download the MySQL Installer from here.
- Run the installer and choose the Server and Workbench option.
- Follow the prompts to complete the installation, and set a root password when prompted.
- Once installed, open the MySQL Workbench create a database for WordPress, and grant all privileges to the root user.
Note:
You can use the mysql cli commands to create the database.
You can create a new user for WordPress, however I will be using the root user only.
Step 8: Download and Configure WordPress
- Download the latest version of WordPress from here.
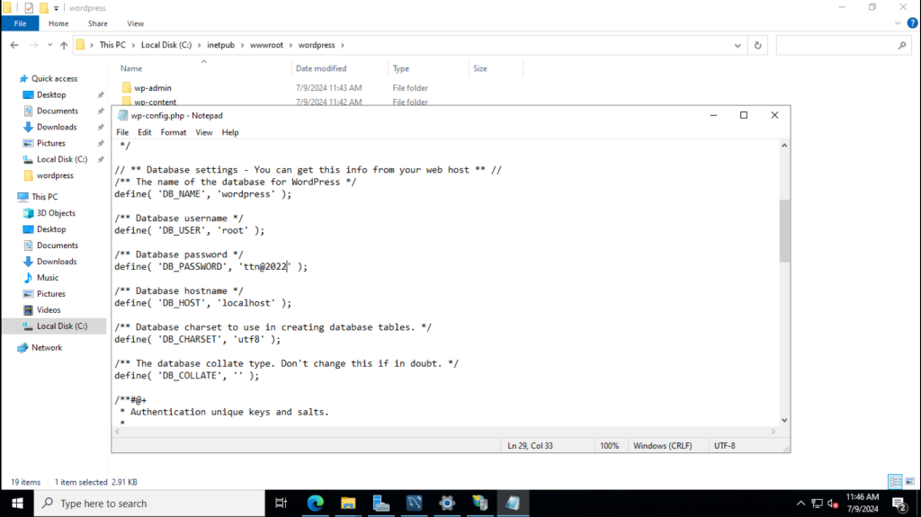
- Extract the ZIP file to C:\inetpub\wwwroot\wordpress.
- Rename the wp-config-sample.php to wp-config.php
- Open the wp-config.php file in a text editor and provide the database details.
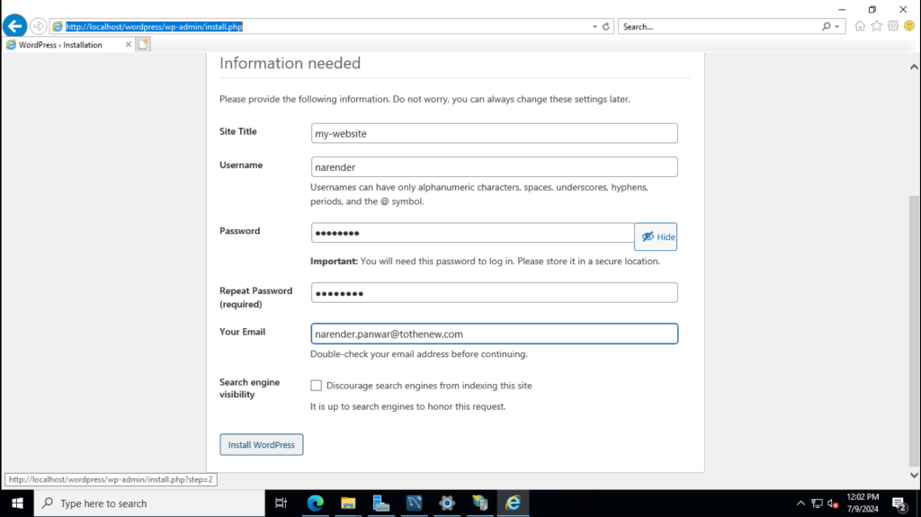
Step 9: Set Up WordPress
- Open a web browser and navigate to http://localhost/wp-config/install.php
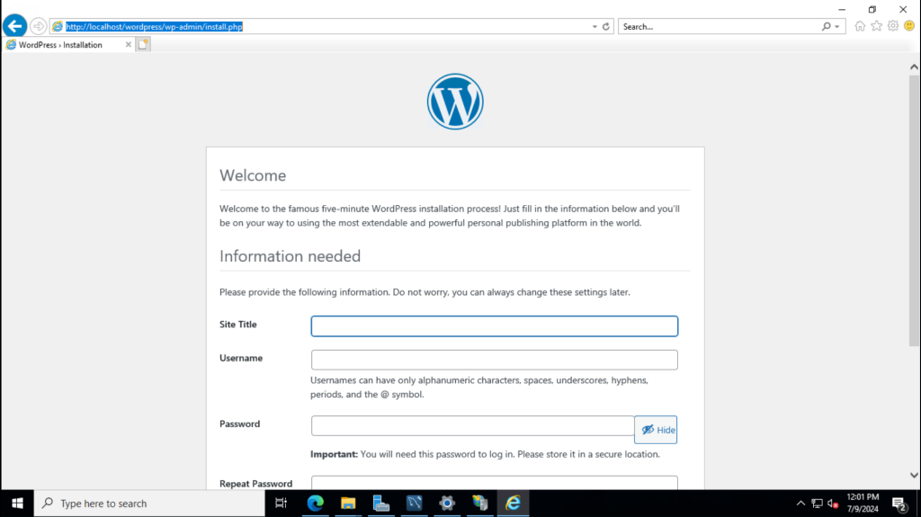
- Fill in all the details and click on Install WordPress.

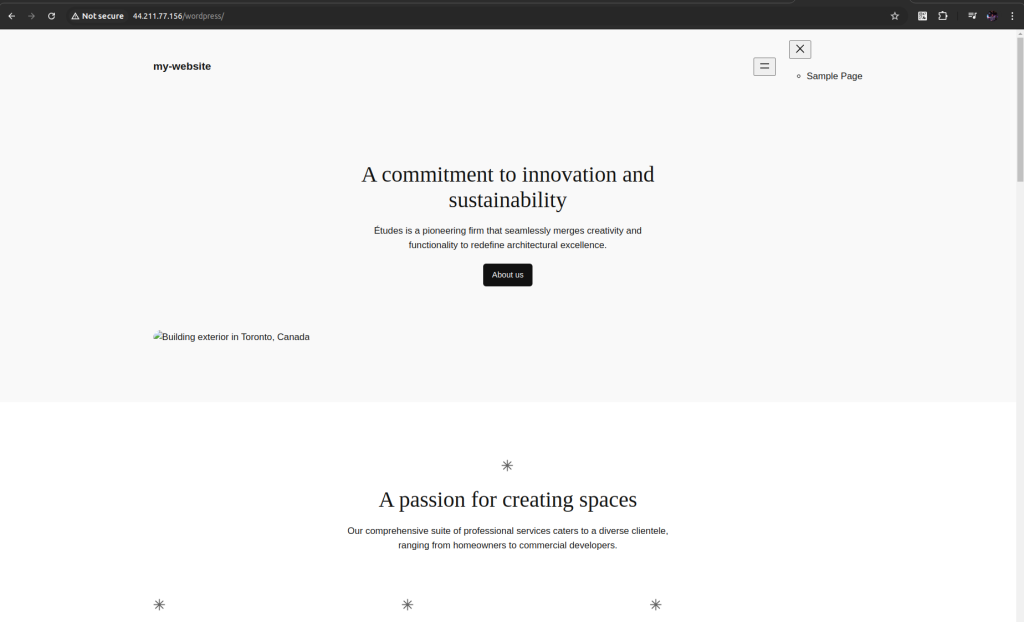
Step 10: Accessing the Website
- Access the admin panel using localhost/wordpress/wp-admin
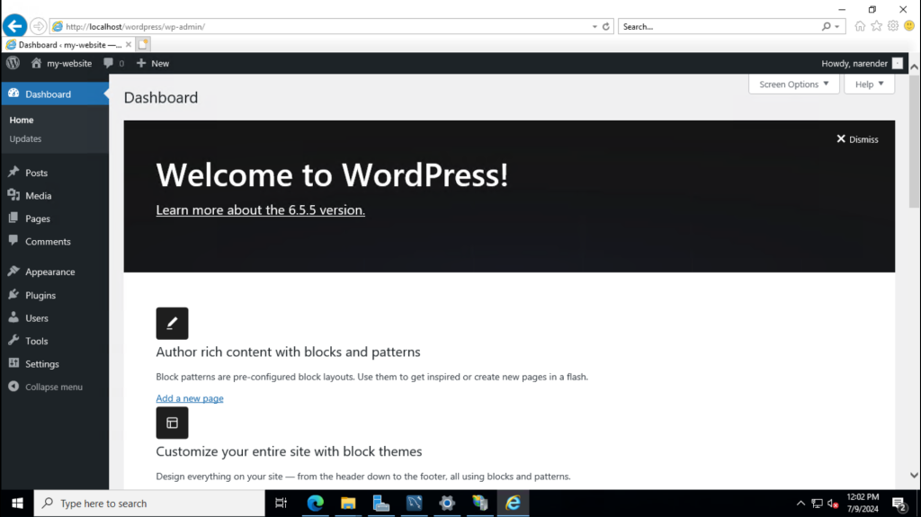
- You can access the website using <server-ip>/wordpress